Height map vs displacement in PBR is a naming mess that costs render time. A height map is grayscale data: light pixels are high, dark pixels are low. Displacement is what you do with that data—move real geometry. Bump and parallax only fake the lighting. This guide tells you when Locker3d stone needs a silhouette and when a normal is enough.
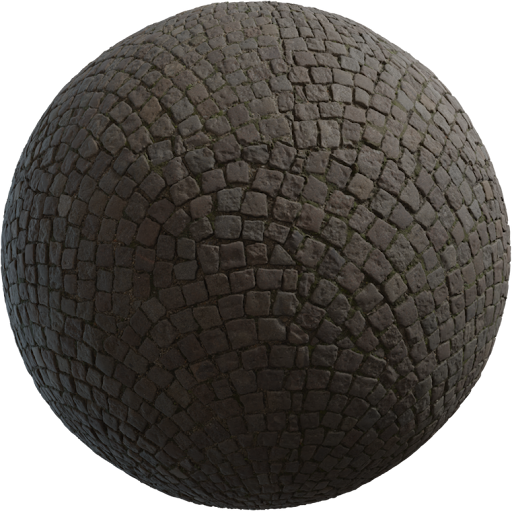
Height, bump, and displacement are not synonyms
A height (or displacement) texture is the source. Bump converts height into a lighting cheat on a flat mesh; the outline stays a plane. Normal maps already store that lighting cheat as RGB vectors and are usually sharper than a live bump from height. Displacement (and vector displacement) moves vertices so cobbles get real gaps in the silhouette. Parallax or POM offsets UVs in a game shader; it is not displacement. If map roles are still fuzzy, start with the complete PBR textures guide.
When bump or a normal is the right choice
Most archviz cameras never see the edge of a wall. A 4K normal from Locker3d stone plus a low bump strength is enough for brick, plaster, and distant cobbles. Bump is cheap and does not explode polycount. Use it when the surface is seen face-on, when you are in Eevee, or when the mesh is a simple plane you will not subdivide. Keep height in Non-Color. Plug it into a Bump node (or leave it unused if the normal already carries the detail). Do not add a strong bump on top of a strong normal or you will get two overlapping stories.
- Normal only — walls, floors at standing height, game mid-ground.
- Bump from height — extra pores when the normal is calm.
- Displacement — hero cobbles, cliff rims, broken stone steps.
When displacement is worth the cost
Turn displacement on when the camera sits on the path, when cobbles must break the horizon, or when a product shot shows the rim of a stone slab. Then the height map must match the albedo: a crack in color that does not exist in height looks painted on. Mid-level matters. If the height is 0–1 with 0.5 as flat, set the Displacement node midlevel to 0.5 and start with a small scale (millimeters to a few centimeters for cobbles). Too much scale looks like crumpled paper. Metalness stays 0 on stone. Roughness still does more for “wet stone” than extra height.
Cycles adaptive subdivision
In Blender, true displacement needs a dense mesh. Use Cycles + Experimental + a Subdivision Surface set to Adaptive. In Material Settings → Displacement, choose Displacement and Bump or Displacement Only. Connect height through a Displacement node to Material Output—not into Principled Normal. Start dicing around 1.0. Apply object scale first. Albedo and roughness still follow how to apply PBR textures in Blender.
Engines, games, and a hybrid habit
Unreal can displace on Nanite; Unity often uses POM. For games, bake a normal from a displaced high-poly. For stills, displace only the hero strip of cobbles. Shared UVs matter: if you scale only the height, relief will not match dirt. Tile every map together.
CC0 stone you can displace
Download height-ready sets from /textures/stone/. They are CC0, so you can displace, bake, and ship the result in client work. You cannot claim exclusive ownership of the scan; see CC0 textures: what you can and cannot do. More material notes: blog. If the silhouette looks right but the lighting is noisy, lower displacement scale and trust the normal. Height is a tool, not a quality slider you max on every shader.
Frequently asked questions
Is a height map the same thing as a displacement map?
Almost. Both are grayscale height. Displacement uses that height to move vertices. A height map used as bump or parallax only fakes lighting and does not change the silhouette.
Should I enable Cycles adaptive subdivision on every stone material?
No. Use it on hero cobbles, cliffs, and close paths. Distant walls need a normal or a cheap bump. Adaptive subdivision on every asset will stall the render.
Do Locker3d stone packs include height maps?
Many CC0 stone sets include a height or displacement file alongside albedo, roughness, and normal. Use height only where the camera sees the edge of the surface.