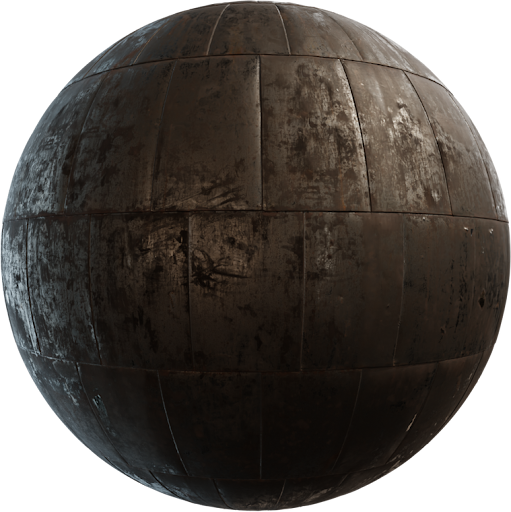
A roughness map in Principled BSDF is the difference between chrome, satin, and chalk. Roughness is not a second albedo. It is a linear grayscale that tells the shader how wide the highlight is. This guide covers the socket, color space, how to invert roughness when the pack is gloss, and a sphere test you can reuse on every Locker3d download.
What the Roughness socket actually does
Principled BSDF roughness of 0 is a mirror. Roughness of 1 is fully diffuse. Real materials sit in between: polished metal near 0.05–0.2, painted wood around 0.3–0.5, raw concrete higher. The map varies that number per pixel: scratches go glossier (darker in a roughness map), dust goes matte (brighter). It does not add color. If you want the theory of all maps, read the complete PBR textures guide.
Connect the map the right way
Add an Image Texture, load the roughness file, set Color Space to Non-Color, and plug Color into Roughness. Share Texture Coordinate → Mapping with albedo and normal so scratches stay on the grooves. Do not plug roughness into Specular, Metallic, or Base Color. Full graph: how to apply PBR textures in Blender. A constant slider is fine for a gray clay block; it is not fine for brushed steel or worn leather from the Locker3d catalog.
Invert glossiness, not “fix it in the slider”
Some older packs ship glossiness: white is shiny. Principled BSDF wants roughness: white is matte. Add Invert Color on that map only. If you instead drag the BSDF roughness slider, you flatten the variation. If you invert a map that is already roughness, chrome becomes dirt. Name the node Invert Gloss so you can see it in the graph. Do not invert the normal as a first guess when the metal looks wrong.
Sphere test from mirror to matte
Make three spheres: roughness 0, the Locker3d map, and roughness 1. Light them with an HDRI that has a sharp window. The mapped sphere should sit between the two constants and show scratches in the highlight, not in the albedo. If the mapped sphere looks darker in color, you still have sRGB on the data map or you plugged it into Base Color. If it looks plastic, values are too low and too even. Metals also need a metallic map or a Metallic value near 1; roughness alone will not make chrome.
Common mistakes that fake gloss
JPEG artifacts on a roughness map sparkle. Use PNG or TIFF for data. A photo of a shiny object is not a roughness map. Multiplying AO into roughness can help dirt in crevices; multiplying AO into albedo is a different, often dirtier look. Clearcoat is a second lobe for car paint, not a replacement for the base roughness map. More node notes live on the blog.
CC0 maps with usable roughness
Locker3d sets include roughness (or a gloss file you can invert) under CC0. Use them in commercial Blender work without credit. Limits: CC0 textures: what you can and cannot do. Grab metal, wood, or concrete, run the three-sphere test, then drop the winner on the hero mesh. When the spheres read correctly, the room usually will too.
Frequently asked questions
What color space should a roughness map use in Blender?
Non-Color. If roughness stays sRGB, mid-grays shift and metals look plastic or dirty. Albedo is the map that uses sRGB.
My pack has glossiness, not roughness. What do I do?
Add an Invert Color node between the image and the Roughness socket. Do not invert the normal or albedo. Leave a note on the material so the next artist does not invert it twice.
Where can I get free roughness maps to practice?
Download CC0 PBR sets from the Locker3d catalog. Each pack includes roughness (or a gloss map you can invert) for personal and commercial Blender work.