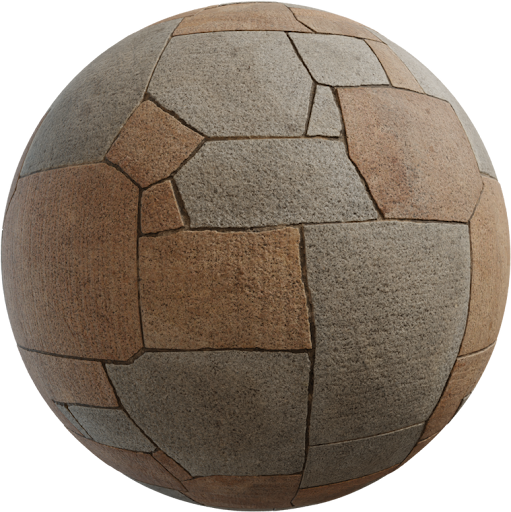
D5 Render PBR textures work like other metallic/roughness engines: albedo for color, roughness for sheen, normal for grain. The difference is D5’s real-time archviz material editor and its built-in library. This setup shows how to build a custom material from Locker3d maps so a living room floor and wood furniture match a still you would send to a client.
What D5 expects from a PBR set
D5 reads a base color (albedo), a roughness map, a normal, and optional metallic, opacity, and height. Albedo must be lighting-free. Roughness is grayscale: dark is glossier, bright is matte. Metalness stays near 0 on wood, tile, and plaster. Recap the sockets in the complete PBR textures guide. Do not plug one JPEG into every slot. A photo of a floor already contains shadows that fight D5’s sun and GI.
Create a custom material and load maps
In the material panel, create a new custom material instead of tinting a preset forever. Load albedo into the color/albedo slot. Load roughness into roughness—not into glossiness unless you invert it. Load the normal into the normal slot and start at strength 1.0; drop it if pores look carved. Keep metallic empty or black on dielectrics. If the pack includes height, use a low displacement amount on a hero island only. Color-space mistakes (roughness treated as sRGB) make plastic oak. The same rule as Blender: data maps are linear. Blender users can compare with how to apply PBR textures in Blender.
Real size on floors and wood
D5 lets you set texture size in real units. Measure a plank or tile, then set the material size so one repeat matches that width. A 12 cm oak strip on a 4 m room is not “scale 1.” Living-room cameras sit low; wrong scale is obvious on floor ceramics and wood boards. Use one size for albedo, roughness, and normal. A second UV or a decal handles rugs and inlay, not a unique stain baked into a tile that repeats every two meters.
Library presets versus Locker3d scans
D5’s built-in materials are fast and tuned for its lighting. Use them for glass, foliage, and generic paint. Switch to a custom Locker3d set when the client named a wood species or a tile module. Presets that look fine in the asset browser can still read generic next to a scanned oak. Mix: D5 glass and plants, Locker3d floor and furniture wood. Keep roughness ranges similar so one sofa does not look wet beside a matte floor.
Check under D5 sun and an HDRI
Orbit at sitting height. Plastic look: roughness too low or inverted. Flat look: missing normal. Dirty look: albedo with baked shadows. Pink or empty: wrong path after moving folders. Then do a close crop of the coffee table and the floor joint before you light the whole apartment. Night lamps show roughness errors that a noon sun hides.
CC0 downloads for D5 projects
Grab sets from the Locker3d catalog—start with floor and wood. They are CC0, so commercial D5 stills and walkthroughs do not need credit. Read CC0 textures: what you can and cannot do before a billed job. More real-time notes live on the blog. Save a D5 material template with empty slots and a default 2K size; the next interior is a file swap, not a rebuild.
Frequently asked questions
Which maps does a D5 custom material need first?
Albedo, roughness, and normal. Add metallic only for metals. Height is optional for hero close-ups. Skip AO if D5 already bakes contact shadows in the scene.
Why does my D5 wood look plastic or too shiny?
Roughness is too low, still treated as color, or you imported a gloss map without inverting it. Raise roughness, confirm the slot, and match plank width to a real board.
Are Locker3d textures free to use inside D5 client stills?
Yes. They are CC0. You can use them in commercial D5 interiors without attribution. Download floor and wood packs from the catalog.