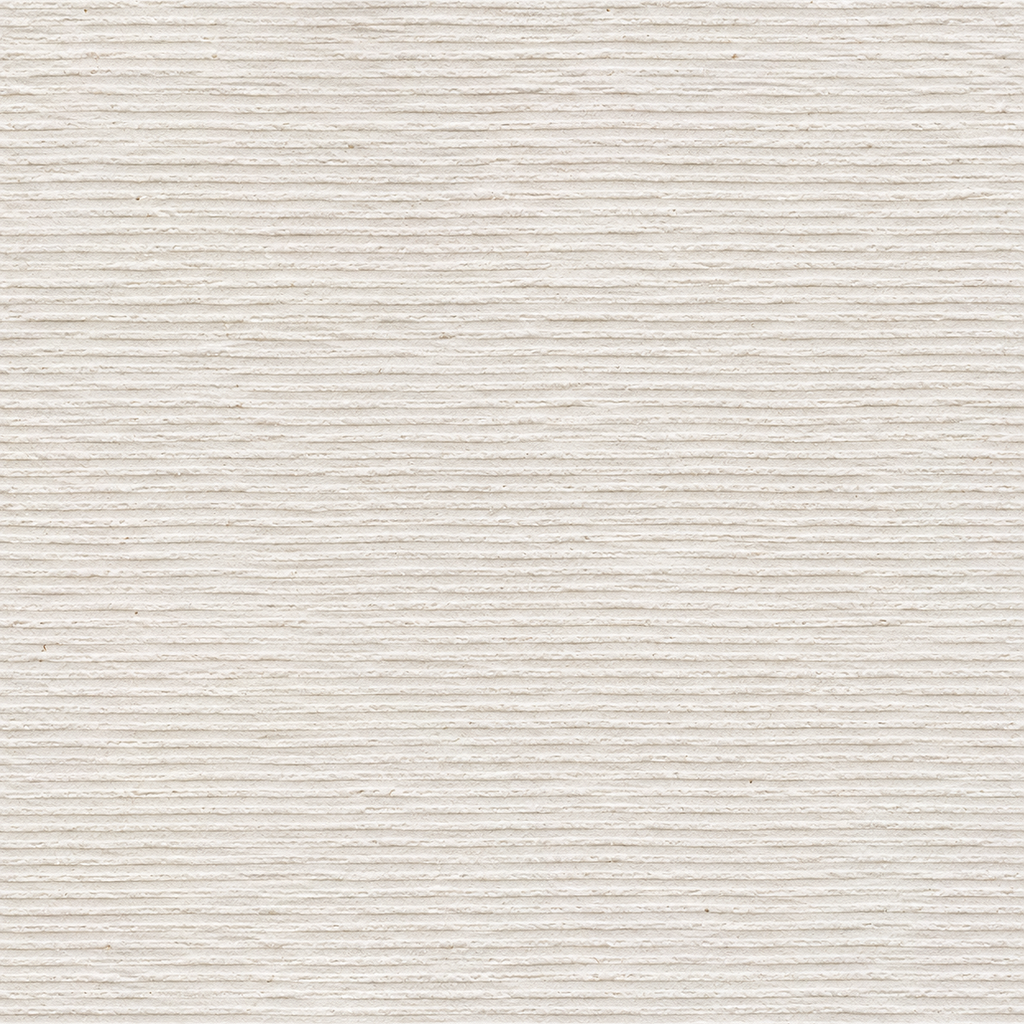


About this texture
Raked White Plaster: finish and surface detail
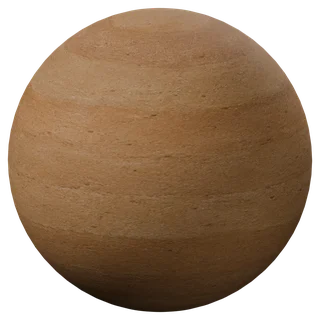
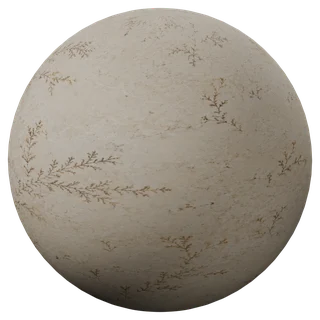
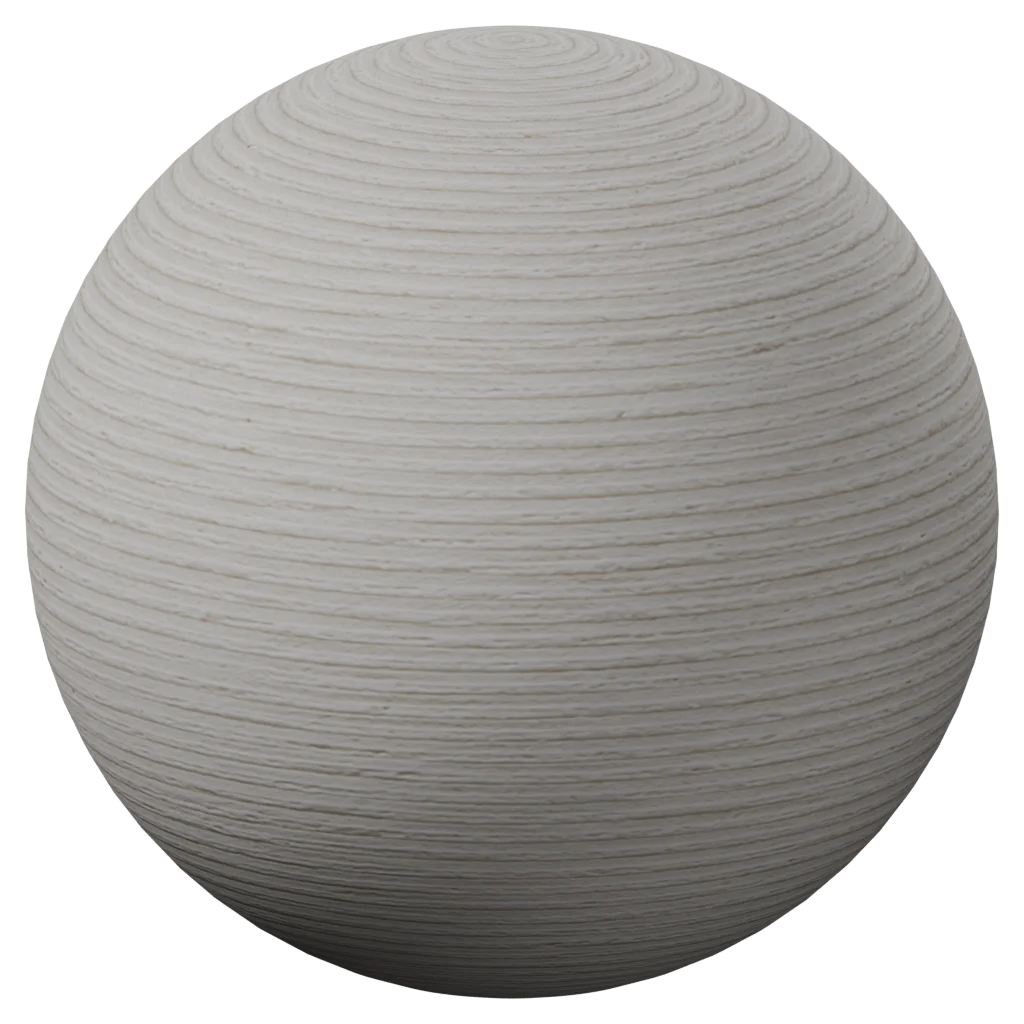
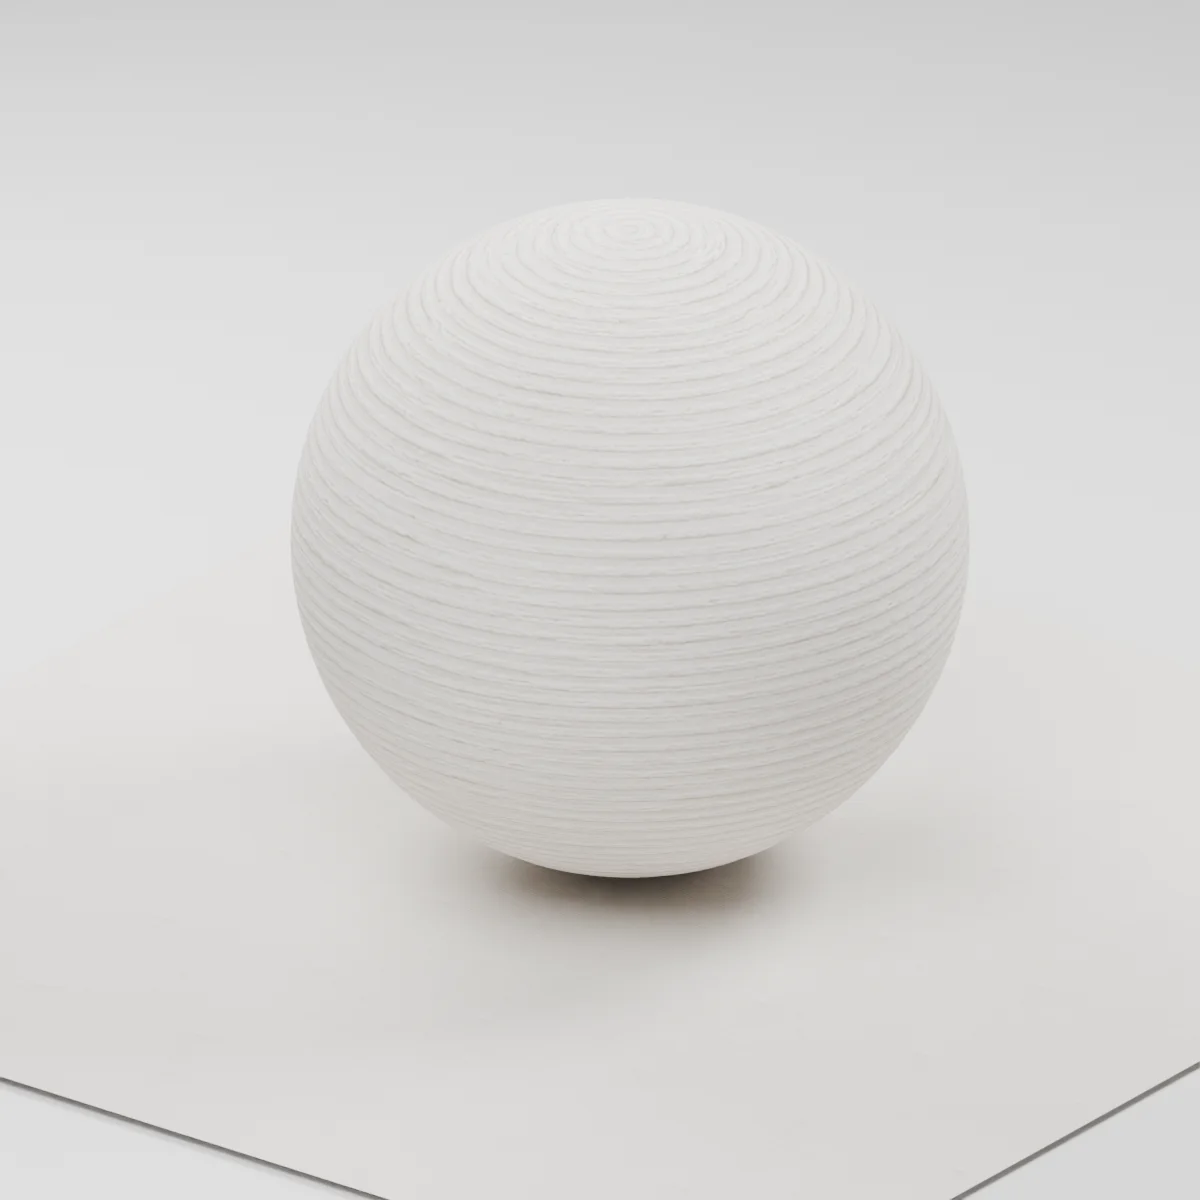
Fine horizontal comb grooves run through a warm white plaster face. Slightly ragged ridge edges and tiny pores break up the otherwise regular lines without adding large cracks or panel joints.
Where to use this material
Use it on an interior feature wall behind a bench or a reception backdrop. Keep the comb direction level across adjoining faces. Model external corners, deep reveals and any prominent ridge silhouette instead of relying on the normal map.
Keep the finish believable
Start near roughness 0.83 and normal strength 0.65 for a dry mineral finish. Test with a broad grazing light to check the shallow ridges. Reduce the normal strength if the fine grain becomes noisy; this starter has no displacement or measured depth.
Texture scale and UV repeats
The demonstration uses an illustrative 40 cm square repeat. Around sixty comb pitches cross the height, putting their spacing near 6–7 mm. Compare the grooves with a door reveal or wall socket, and keep equal UV scale between wall faces. Scale and relief are visual starting points, not measured plaster data.
The example uses 0.4 m per full texture tile. This is an illustrative UV scale, not a measured physical capture. Inspect the repeat at your actual camera distance before covering a large surface.
Set up Raked White Plaster in Blender
Connect albedo.png to Base Color using sRGB. Use roughness.png and normal-gl.png as Non-Color data. Route the normal through a Normal Map node, starting at strength 0.65. Set metallic to 0. The downloadable scene packs all three images.
The base color is AI-generated, and normal and roughness are estimates. The material changes surface shading; it does not add silhouette geometry. The pack has no displacement, AO or metallic image. For an engine expecting DirectX normals, use an image editor to invert the normal map’s green channel. Follow the Blender texture setup guide for the node connections.
Compare related finishes
Brushed Ochre Limewash · Ribbed Pistachio Ceramic · White Plaster 02
Raked White Plaster: common questions
How do I keep the comb lines level across adjoining walls?
Use consistent world or UV scale and align the groove direction on each face. Place the UV seam at the modeled corner, then check the horizontal phase under a grazing light. Outside corners and exposed ridge profiles need geometry.
Why should I avoid making the ridges too deep?
The normal is estimated from color variation in a generated image. It adds shallow lighting detail without changing the silhouette. Strong values can turn plaster grain into harsh stripes, so lower the normal strength before adding any modeled relief.
Browse the wall texture library, the existing material library, or use the tile and offset checker to inspect repetition.